Some might say you need a production team to put on live events. That is true in some cases. But you can also make your virtual event great without all the bells and whistles. All you need is an Office 365 Subscription and a dream! And maybe some help from Skycomp’s free tutorials. Like this one…
What you’ll need to make your virtual event great:
-A Date and Time for your Virtual Event
-An Office 365 Subscription
-An Awesome Guest or Presenter
-A High energy host that is great with the Teams Platform.
-Microsoft Power Automate
-A Calendar ‘.ICS’ file
-Graphics and Assets for your Webinar
Once you have these things lined up you will be able to start creating! The most important part of a webinar is the attendee experience. How easy is it to sign up and join your webinar? Do they get downloadable documents out of it? What is drawing your attendees to this event? What makes it stand out from a sea of webinars in our virtual pandemic world?
The answer might be different for everyone. But for us at Skycomp we like to think it’s the attendee experience. Having someone in a dining room with a window in the background causing a terrible backlight/silhouette situation on your camera is no good. The viewers will complain and ask you to turn your camera to not face the open window. The other thing is audio quality, making sure your microphone is clear and consistent throughout the event is a huge must have. But let’s get into starting that attendee experience on a high note.
Part 1: Creating a Registration Experience
Using Microsoft Forms and Power Automate:
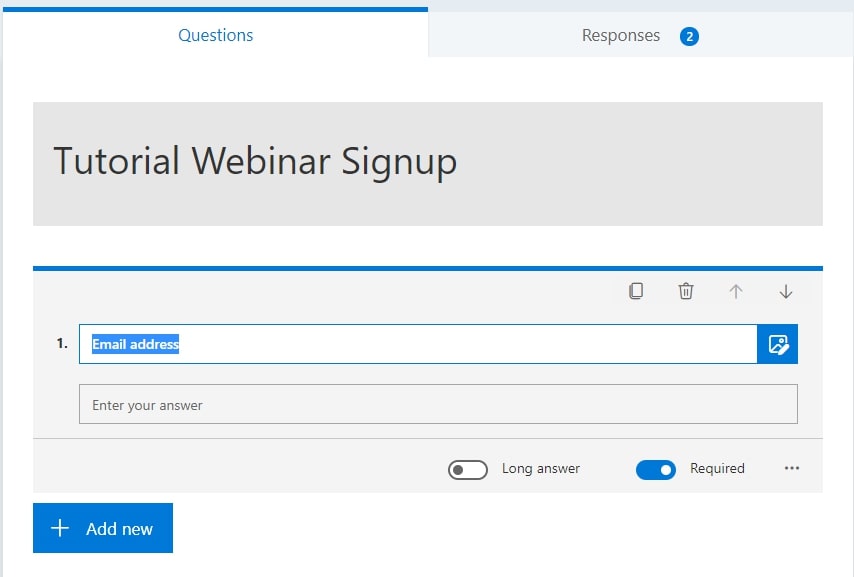
First head over to Microsoft Forms and Create a ‘Signup form’ make sure to include the words ‘Signup’ in your form title. Forms auto creates options that would be in a Signup form and you can just select and add them in, saves you some time typing each one out.
Another important option to make sure to tick off is make the First Name, Last Name and Email Address, required. In the settings its just a little switch and a red asterisk should appear beside them in the shared form.
Part 2: Creating the Event
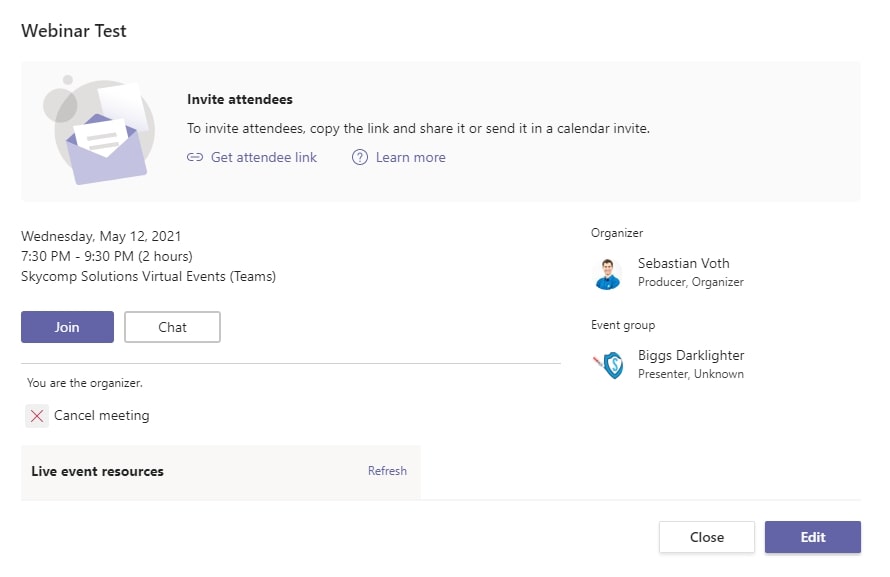
To get the attendee link to include in all this information you need to create your Teams Live Event. Skycomp has created a bunch of tutorials about this, and you can watch them here: Setting Up a Teams Live Event Part 1 – Part 2 – Part 3
The important thing to get from this is the Attendee Link – You can copy it to clipboard from the calendar section in your team’s desktop app. Save this link in a clipboard or notepad.
Part 3: Getting an .ICS file.
An ICS file is just a calendar file that works on most platforms. Its standard across the board and is recognized in Gmail, Outlook, and Apple Mail on iCloud. So, it works on most platforms people are on. To create this file, its straightforward, create a new appointment, setup all time and date inputs, add reminders to it, set it up properly and then hit save, it will save to your calendar, you can then open it up, hit save-as and select an ICS file. Save this directly to your desktop so you can find a good spot on SharePoint to save it to.

Part 4: Save to SharePoint
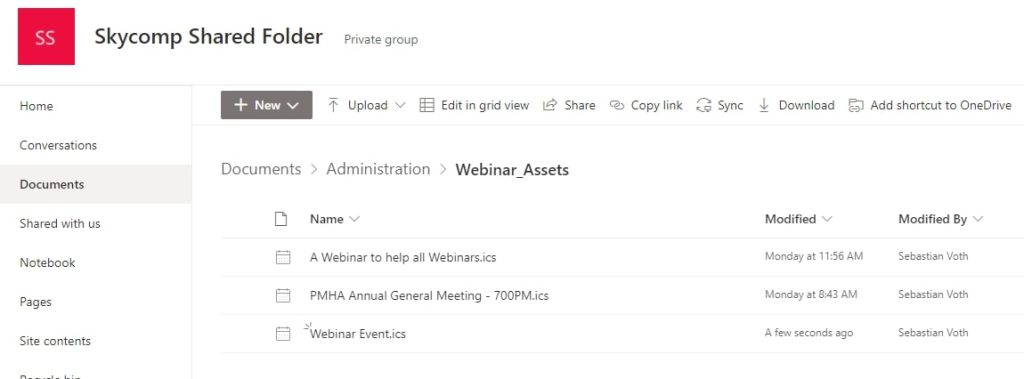
Head on over to a SharePoint Site one that doesn’t have any private folders on it or private information. Not that people will be able to access your personal files, but its just save to use a public site. We would create a folder called ‘Webinar Assets’ and put everything in there. Just keeps things simple and easy to find later.
Part 5: Bring it all together in Power Automate.
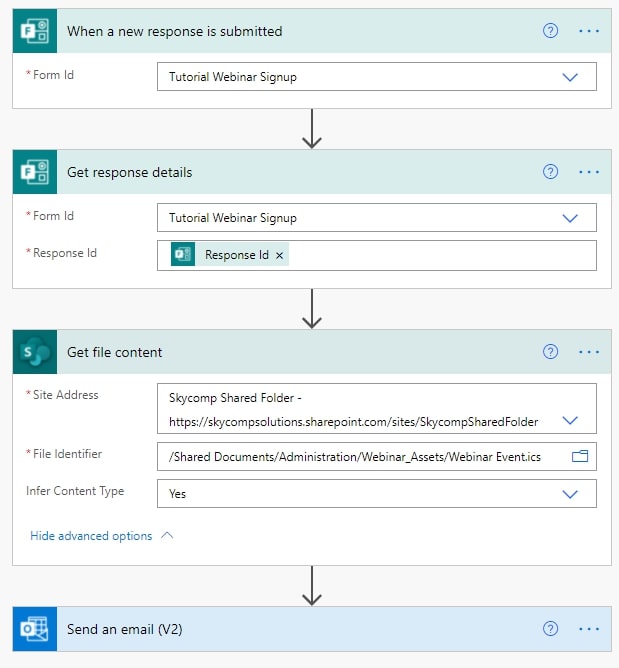
-Open up power automate and create a new “Cloud Flow.”
-Add each element we created to the flow.
-Add the Form – ‘When a New Response is Submitted.’
-‘Get Response Details’
-Add your SharePoint File link: ‘Get File Content’ (from SharePoint)
-Send it out as an email to the person who registered for the event. ‘Send an Email(V2)’
-Test the sequence before you send out by filling out the form with your email
-Test a different platform like Gmail or Yahoo.
Part 5: Market and Send out your event Registration form.
Create a shareable link – make sure its public and share your form with the masses in order to get the maximum number of attendees virtually arriving to your awesome webinar.
If this doesn’t make sense, no problem, Sebastian explains it all in the video above.
Did you find this helpful? Go on over to Skycomp’s YouTube Channel and social media channels and give us a follow!
Want to get these sorts of helpful tips every month? Sign up to our monthly newsletter over here: Subscribe.
Thanks for reading, watching, and solving technology along with us.
All the best,
The Skycomp Team.
